When using cameras in a multi-cam live production environment you want your cameras to match as best as possible so as to maintain a sense of continuity - all the cameras look like they are filming the same action in the same environment at the same time. If there is any mismatch at all then it will break this sense and call out to the audience that something isn't quite right with the visual continuity.
You also want your cameras to conform to a known Colour Space and Gamma to retain a broadcast safe signal that can be used without issue for transmission.
Not all cameras are created equal. They have different sensor technologies, and even different methods for recording the signal. Some use single sensors, others use three sensors with a prism splitting the signal into the RGB components. After the signal capture at the sensor there is also the cameras signal processing to take into account which may introduce all kinds of different signal properties based upon the colour science of the camera. Even if you happen to have a production that is running the same model of camera for every angle there will be many subtle differences to each unit despite being from the same manufacturer.
We also have to take into account the use of different lenses, all of which will bring their own contrast, colouration and aberrations into the mix. There is a reason why having a matched set of lenses is considered a good thing, but in practice this can be quite hard to achieve, especially on a leaner budget.
Many people's methodology in the past has been to simply white balance each camera off of the same target (a white or 18% grey card, or even a wall). This method doesn't come anywhere close to solving the problem but at least somewhat matches the colour rendition of the scene.
A Solution Using Camera Specific LUTs
As time has progressed and technologies evolved more and more we are gaining the ability to manipulate the signal chain. One such method is the use of LUTs (Look Up Table). A LUT takes a known value and converts it to another. In this way we can manipulate both the colour and luminance of any pixel in the signal, thus adjusting it to our specific requirements. LUTs can be used in either a creative (applying a certain look) or corrective application. The one we are primarily interested in with regards to camera matching is the corrective LUT.
Applying a corrective LUT to each camera we can normalise it to a know standard and thus greatly reduce any mismatch between cameras. The corrective LUT helps to minimise variances in both signal generation and differences introduced by lenses. Once the LUT is applied any signal going to the Vision Mixing console should now be as close to the standard as possible and makes inter-cutting camera angles, with view to transmission, as broadcast legal as possible and minimises any jarring that occurs from the change in angle.
On recent shoots I have had the opportunity to be working with four Blackmagic Broadcast cameras, and both a Pocket 4k and 6K cinema camera. As these cameras are all made by Blackmagic Design they run a similar OS. One of the features of this operating system is the ability to apply a LUT to the video out, thus we can manipulate the signal as it leaves the camera. If the cameras that you are using don't have the ability to apply a LUT to the outgoing video stream then you will need to add a LUT box into the signal, this can be done either at the camera end or the Vision Mixer end of the cable, the result will be the same.
Generating the LUT
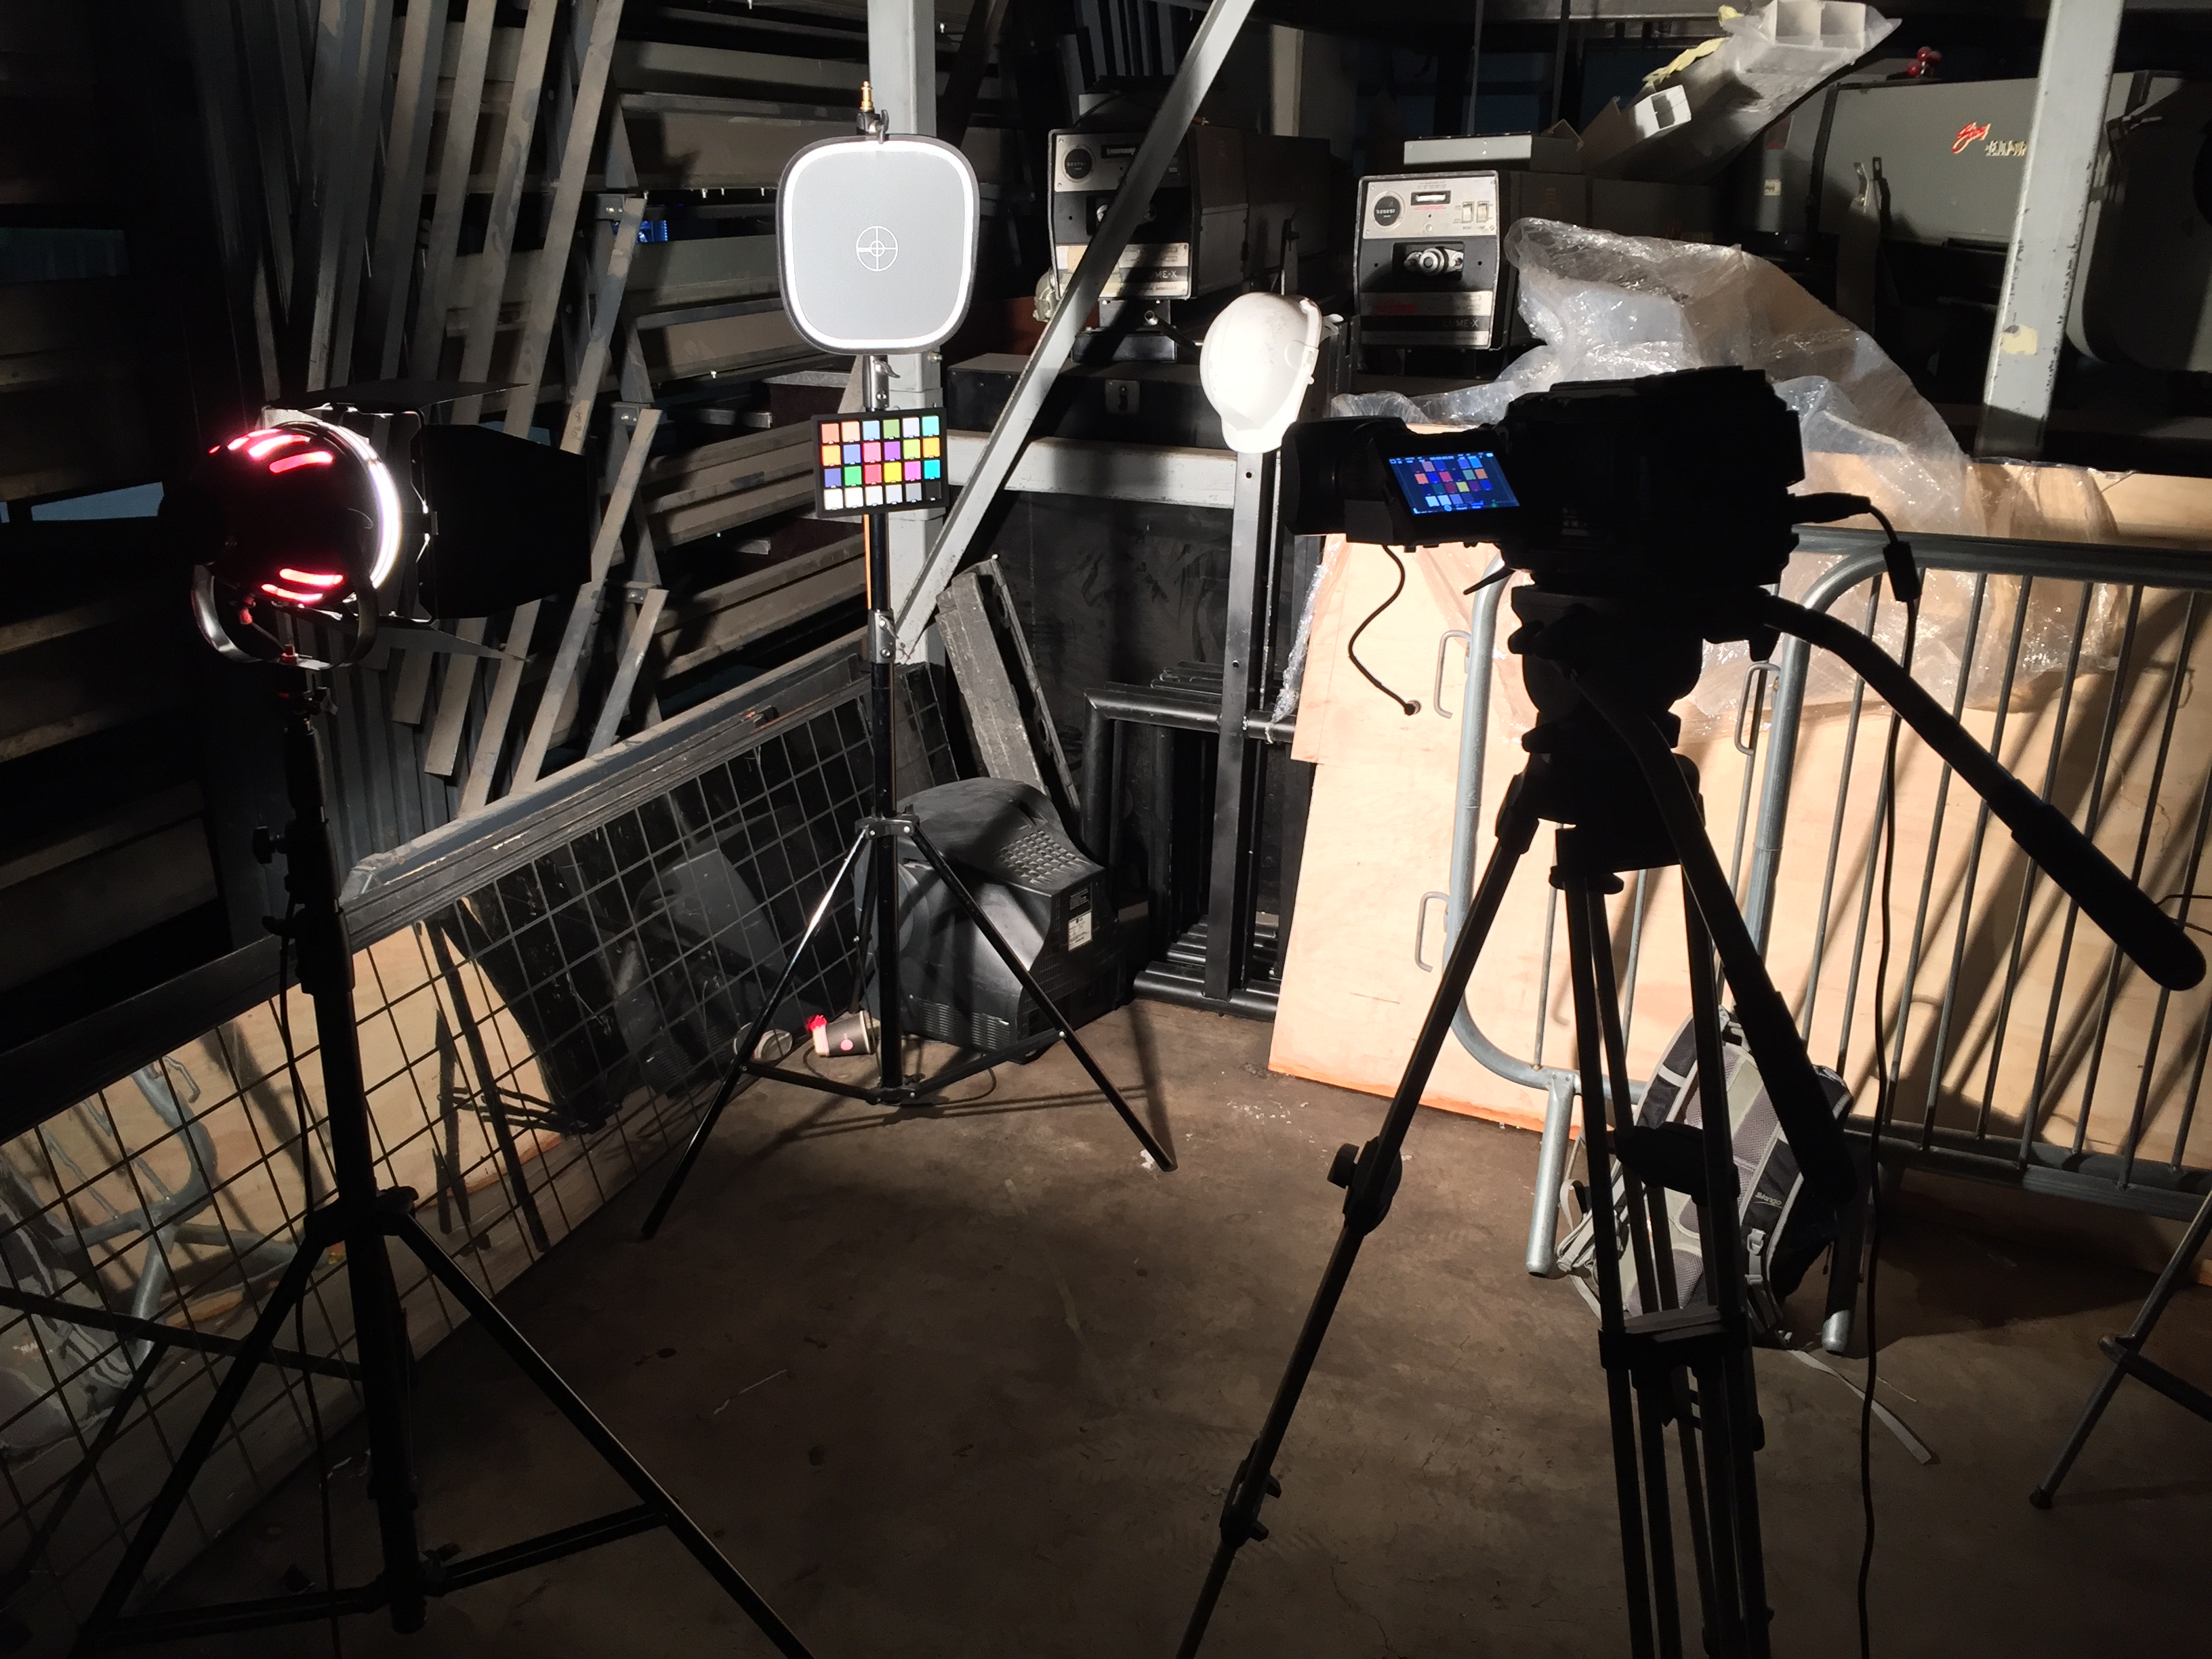
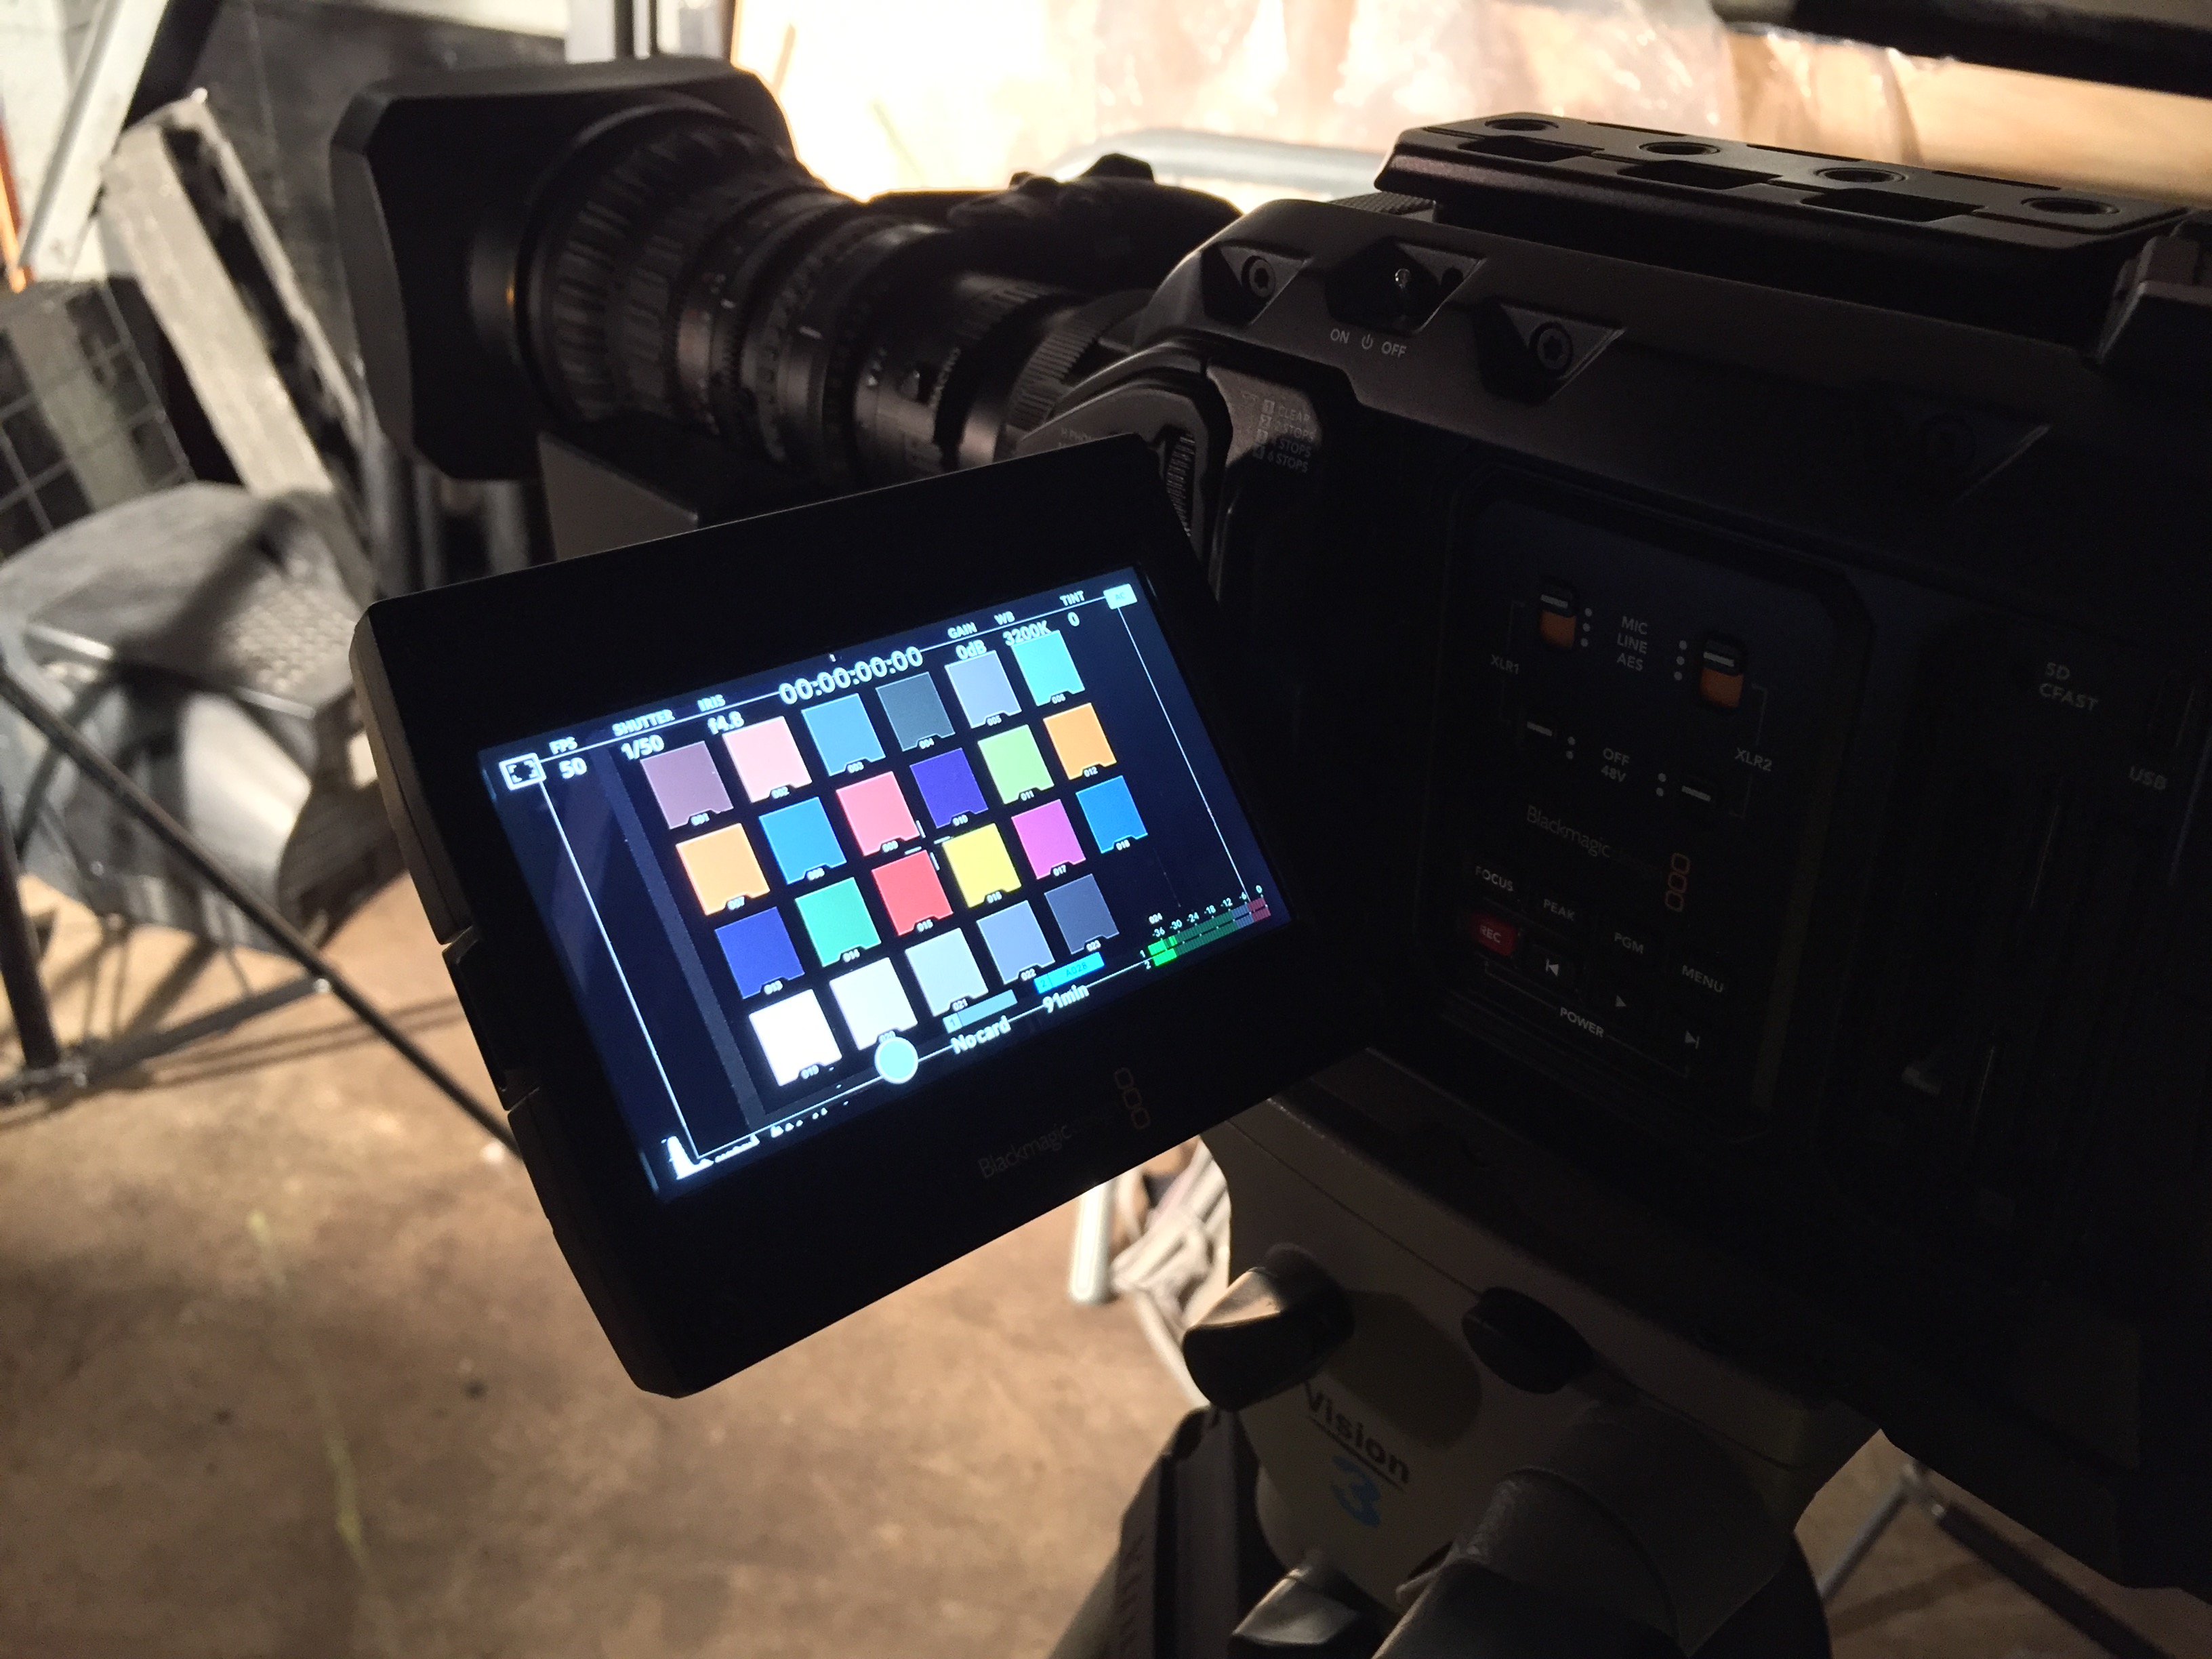
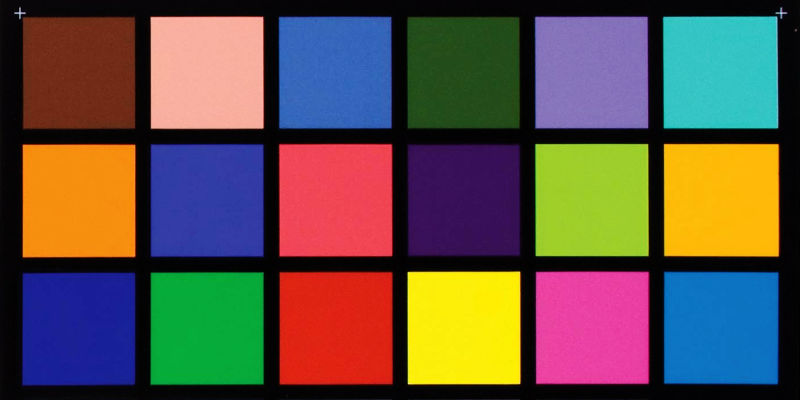
In order to make sure that the cameras match each other we need to make sure that we are conforming to a known standard (to be honest in order to make the cameras match they just need to be calibrated to the same reference, but in order to make sure that you are correct for broadcast using a known standard is best). In order to do this you will need a test chart of some kind. I used a test chart that conforms to the X-Rite ColourChecker standard. The chips have a range of colours and greyscale that are specified to be a particular hue and luminance value.
Once we have chosen our chart we need to set it up in a controlled environment with the same lighting. Here we will roll footage from each of our cameras with the chart taking up most of the frame. In my case I chose tungsten lighting (a single red head) as the LED lighting isn't as continuous spectrum a light source and I wanted to ensure that I wasn't introducing another variance to colour rendition. You also want to set the light up at a 45 degree angle and ideally diffuse it also, this way we eliminate shine and hotspots on the chart. The last item in our set up is an 18% grey card which we will use to make sure that we are getting consistent exposure on our cameras.

Then for each camera we follow this procedure:
- Make sure that the camera is set correctly - make sure the white balance is set to tungsten, highest quality recording settings, make sure that no additional processing is being added to the signal chain (sharpening, a LUT etc).
- Utilising False Colour Mode if you have it, or zebras if not, or using a light meter and setting a stop on the lens, expose the shot for the 18% grey card. Generally on false colour this will be the green colour, but check your manual to make sure.
- Frame up on the test chart making sure that it is sharp and fills most of the frame.
- Roll a second or two of footage.
- Repeat for each camera in your set up, ensuring that settings are as consistent as possible.
- Take your footage for each camera into Da Vinci Resolve and put onto the timeline. Move to the Colour page and using the Colour Match tab use your first node to align the overlay with the chips on the chart you have shot and select the settings that match your intent. In my case I was using Blackmagic cameras so I set the Source Gamma and Colour Space to the same settings from the camera. The Target Gamma and Colour Space were both set for a Rec.709 deliverable. I also used the standard D65 white point. There is one last setting that we may want to adjust - Target white level. Using this we can make sure that all of the peak white levels of each camera match, I selected 90 IRE. Make sure that your chart type is correctly selected in the Chart Type pop up menu.
- Clicking match will now make adjustments to the image to make sure that the values that are read in for each camera are converted to those that Resolve expects each chip to be - in essence removing any inconsistencies between cameras.
- Once your shot has been matched you can right click on it's thumbnail in the filmstrip and select the option to export a 3D LUT. Make sure you name it something that details exactly what the LUT does and which camera it is for so that you can easily find it when dealing with your whole collection of LUTs later. For instance I would use something like NormRec709 Cam 1 - This is a Normalisation LUT, conforming to Rec.709 for Camera 1.
- Once you have generated a LUT for each camera, take those LUTS and load them into the relevant camera or LUT box for each. Make sure that it is enabled for the signal output.
- Choose a white balance for each camera that is either correct for your lighting source, or gives a rendering intent that you are pleased with (if you wanted warmer skin tones for instance).
- Use your vision mixing console and a calibrated grading monitor to ensure that you have a good match between your cameras.

Log vs Gamma Encoded
You may think that rolling your cameras with the settings set to a log gamma would give you the most dynamic range in your final shot. Although this would be the case, I found that the variation between sensor types makes it harder to get different models to match. For instance the Pocket 4k and 6K had greater dynamic range then the broadcast cameras, but getting them to match was difficult. Making sure that all of the cameras were set to Rec 709 and Video output meant that the cameras would match better as the gamma mapping was being done by the camera.
Taking It Further
A normalised picture is great for the match, but it may not suit the overall 'look' that you desire for your image. You may want a more contrasty picture, you may have a product that has to hit certain colour values, or you merely want to massage a more pleasing grade onto your footage all whilst retaining the match amongst your cameras. This can be achieved by creating the desired grade in another node on one of your clips. Once you are happy with this grade you can take a still and use it to append the grade to the other clips. Now when you generate the 3D LUT for each camera you are also baking in the 'look' as well.

